
Rear-Section Accents for the Juniper Rocker Panels
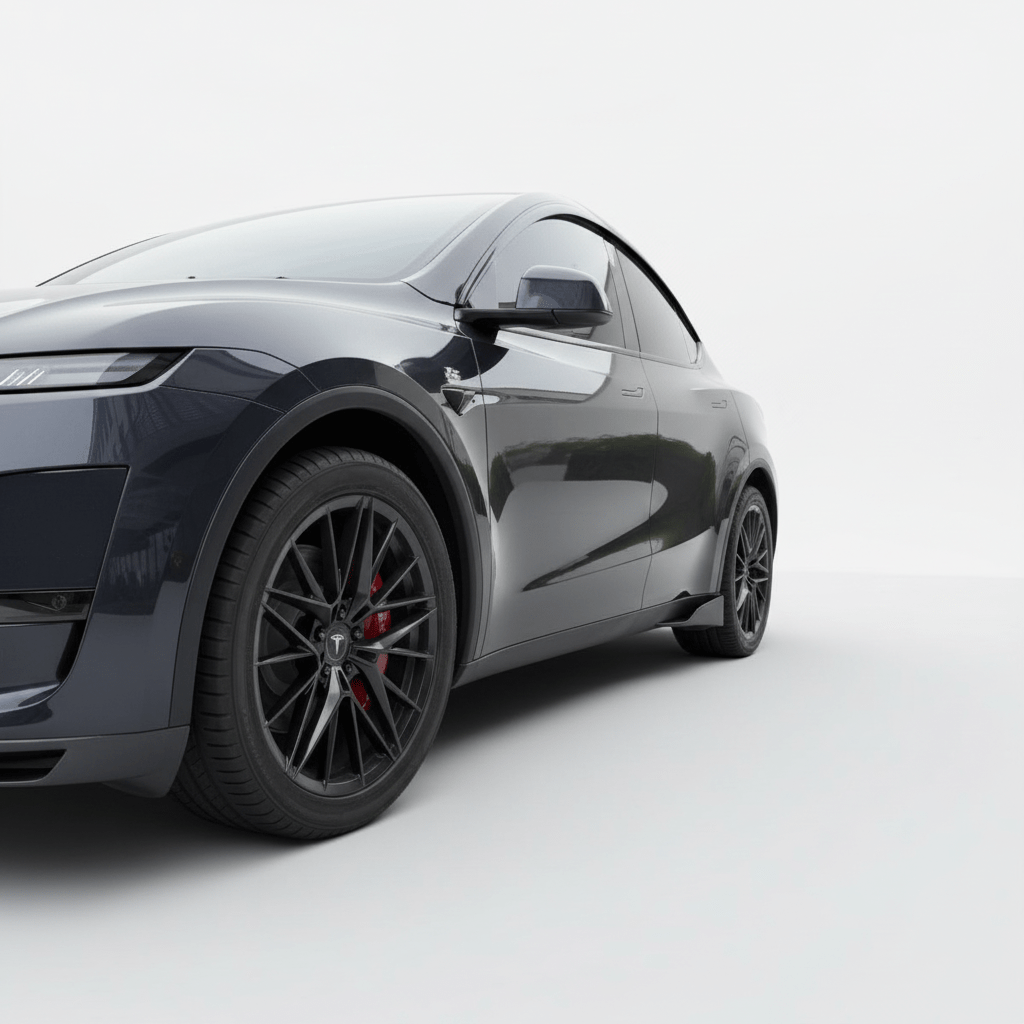
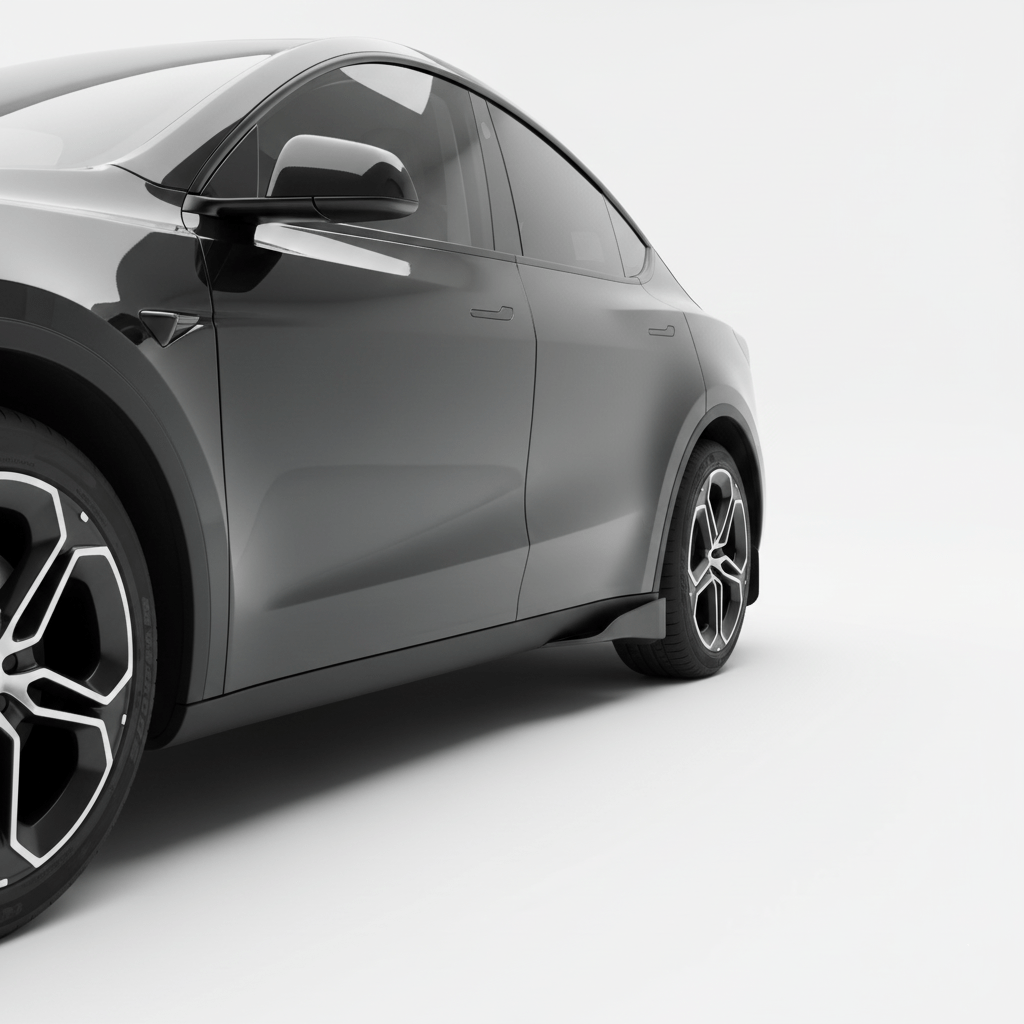
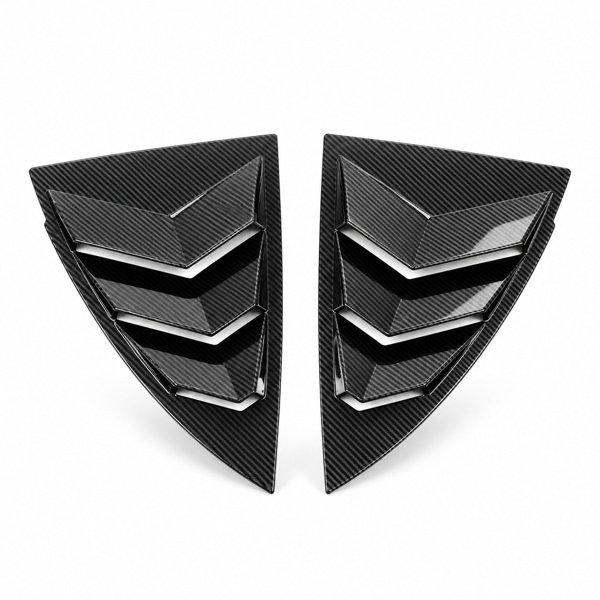
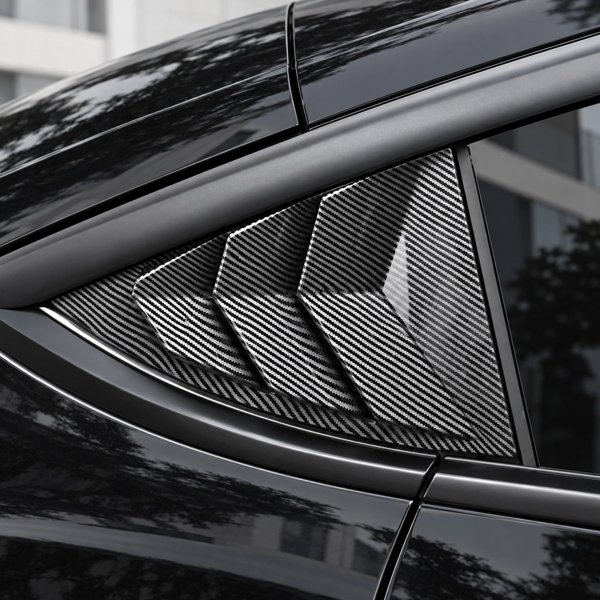
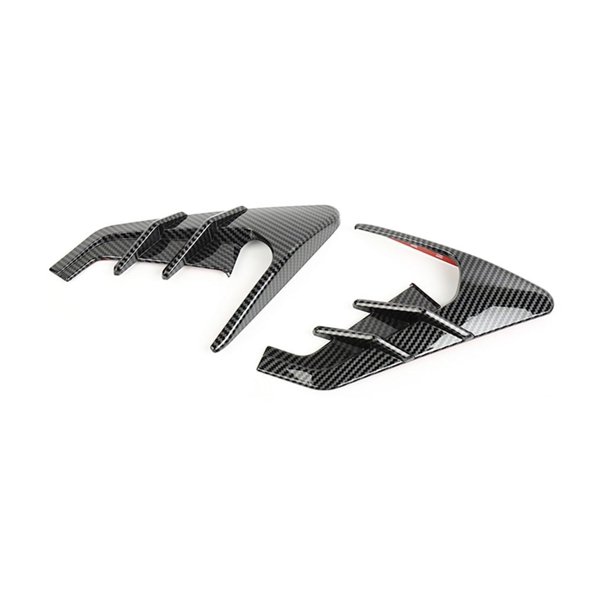
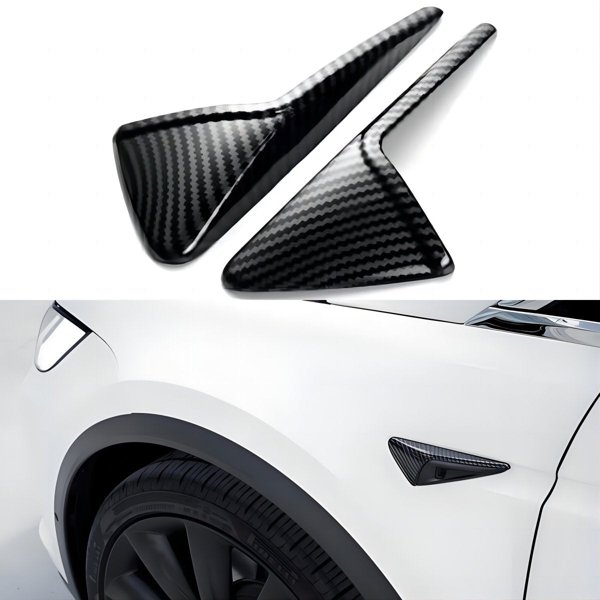
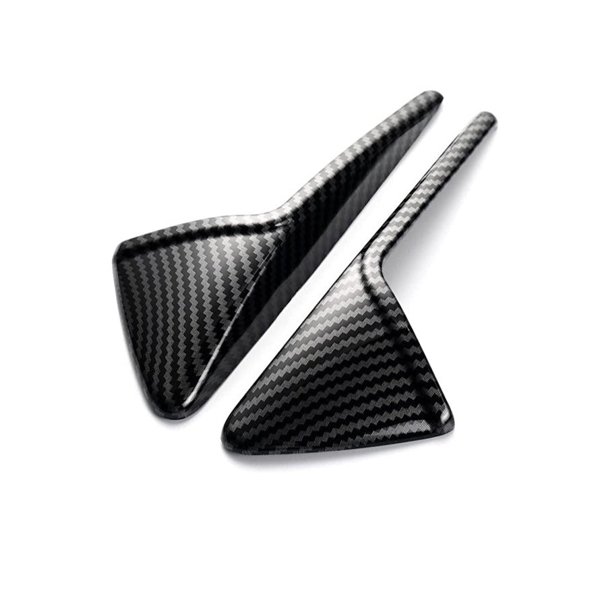
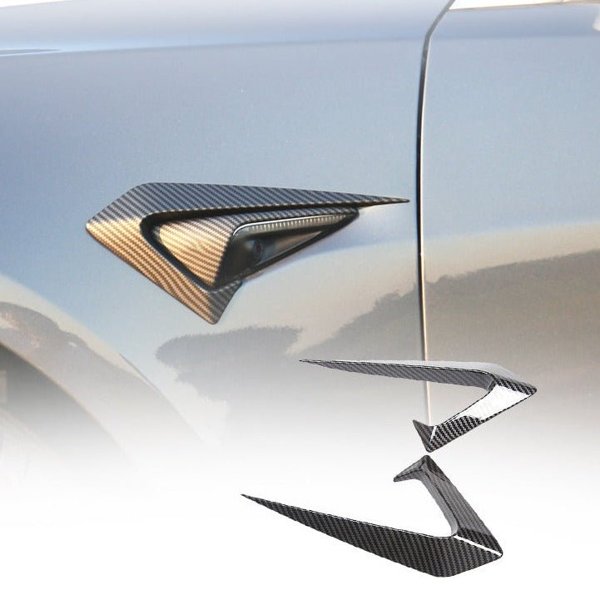
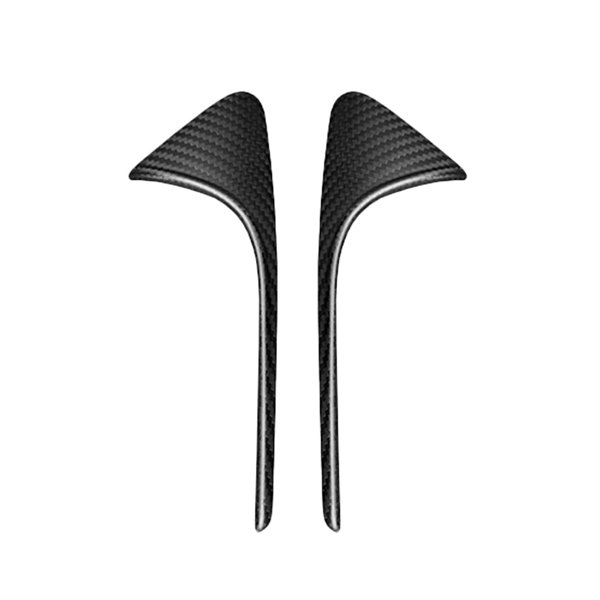
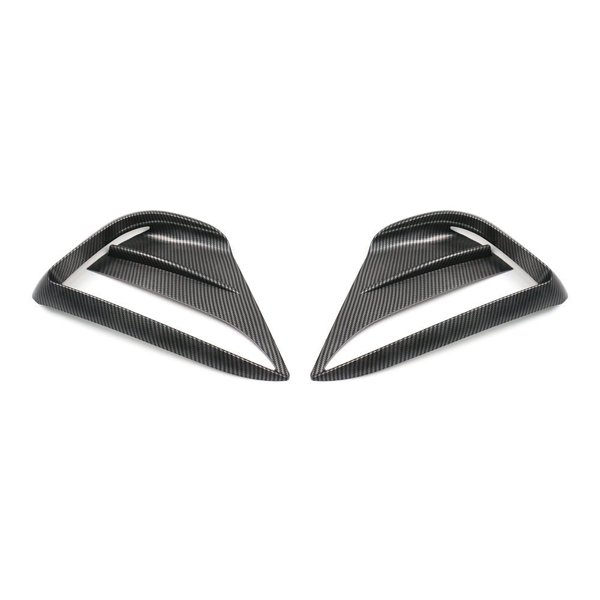
These two ABS side skirt splitters add sculpted details at the rear end of the Model Y Juniper rocker panels, just ahead of the rear wheels. Choose glossy black, matte black or a glossy or matte hydro-dipped carbon pattern. Installation uses automotive tape and screws at the specified plastic undertray mounting area.
- 2 ABS Splitters
- Rear Rocker Position
- 4 Finishes
- Tape + Required Screws
Key Features
-
Rear-Section Styling
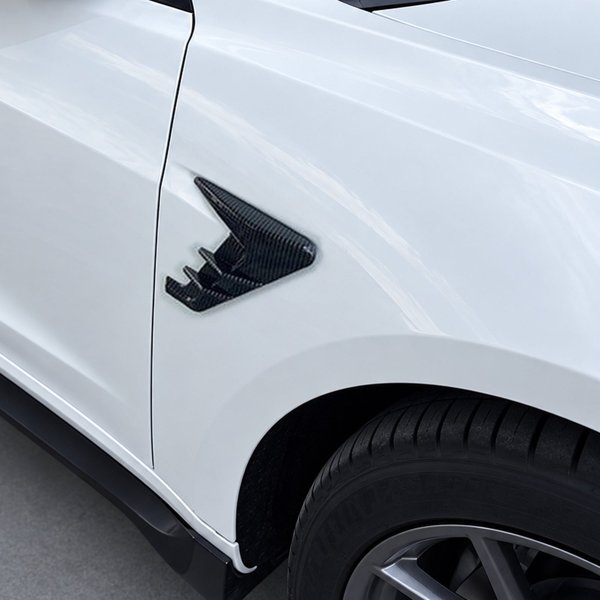
The illustrated splitters add a raised accent at the rear end of each rocker panel, ahead of the rear wheel.
-
ABS Construction
The two splitters are made from ABS plastic.
-
Four Finishes
Choose glossy black, matte black, glossy carbon-fiber texture or matte carbon-fiber texture.
-
Carbon-Pattern Appearance
The carbon choices use a hydro-dipped pattern on ABS.
-
Tape and Screw Attachment
The fitting method uses automotive tape plus screws into the specified plastic undertray area; the screws are required.
-
Two-Piece Kit
The package includes two side splitters, tape, screws and adhesion promoter.
Highlights
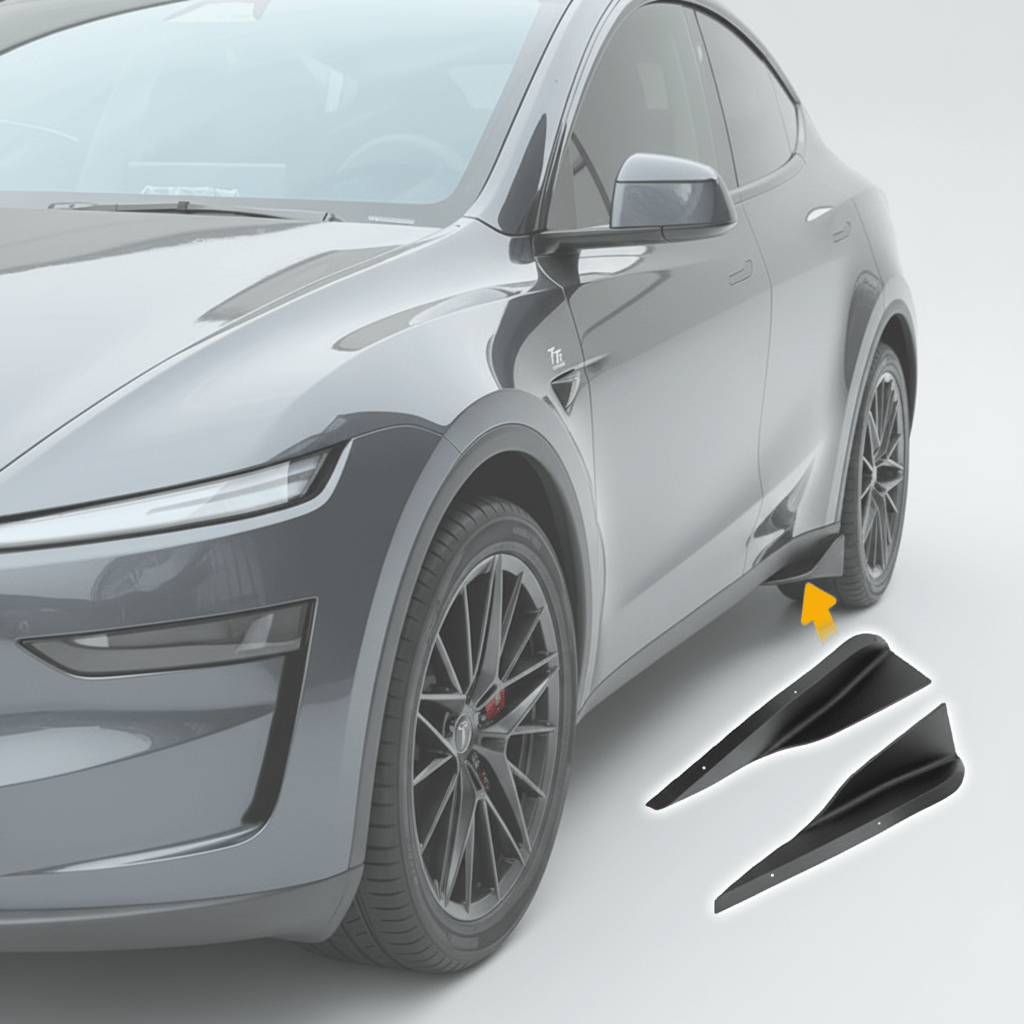
Accent the Rear Rocker Section
The illustrated pieces sit ahead of the rear wheels at the rear ends of the rocker panels. The door path, tire clearance and lifting points stay clear.
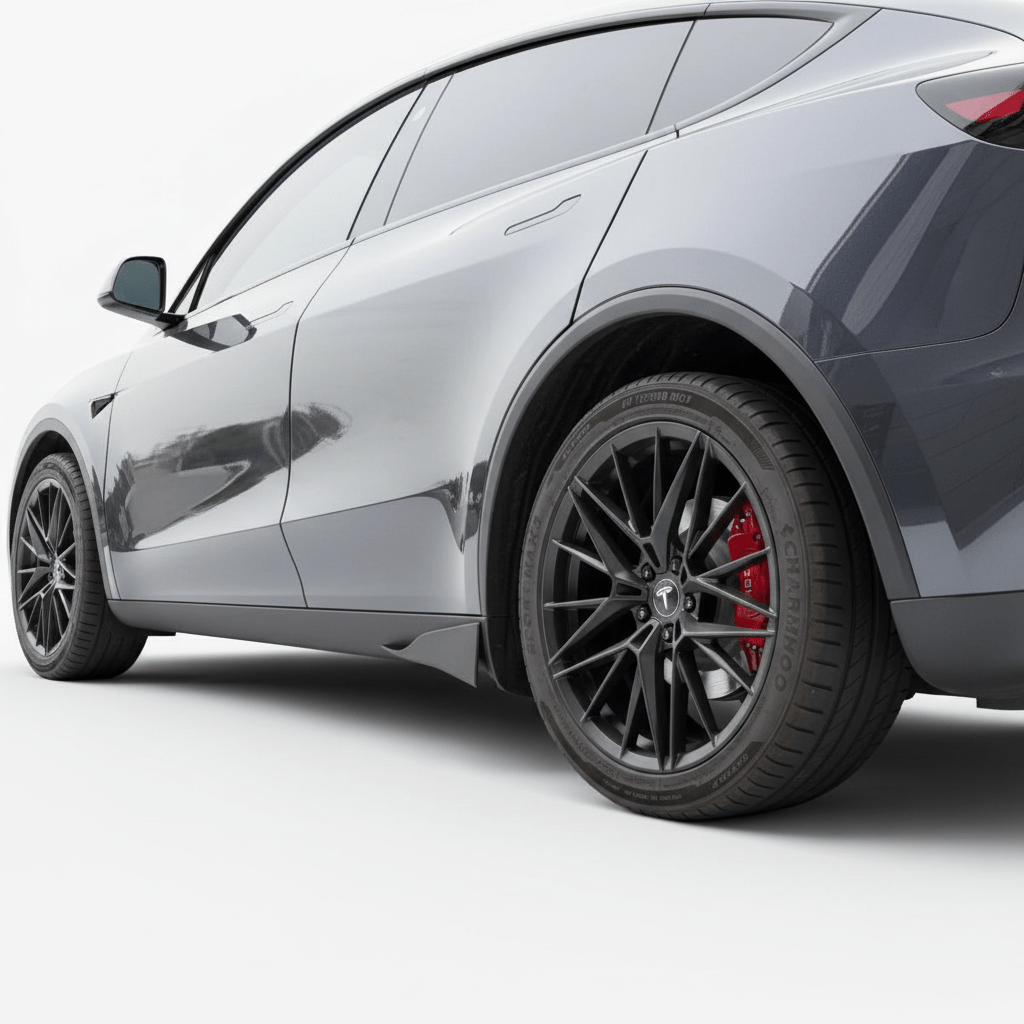
Choose the Finish
Glossy and matte black provide different levels of reflection. The glossy and matte carbon-texture choices are hydro-dipped patterns on ABS.
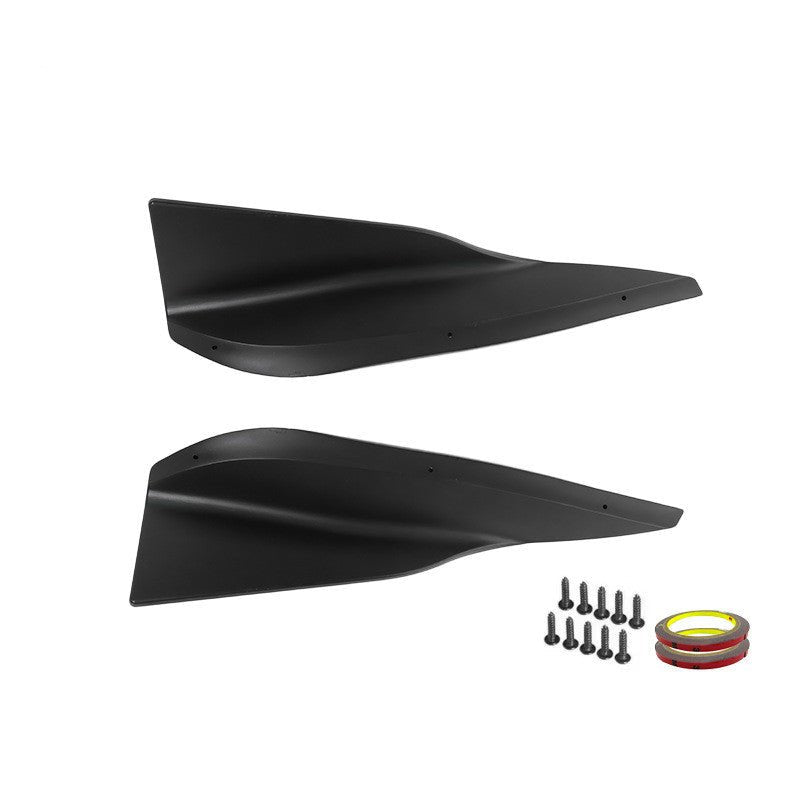
Secure with Tape and Screws
Both tape and screws hold each piece at the specified plastic mounting locations.
Compatibility
| Model | Years / Version | Notes |
|---|---|---|
| Model Y Juniper | 2025+ | Rear rocker-panel sections. |
Fits the Juniper rocker-panel shape; does not fit replaced or modified lower trim. The fitting method uses screws into the specified plastic mounting area as well as tape.
Specifications
| Product Type | Rear-section side skirt splitters for the rocker-panel area |
|---|---|
| Compatible Models | Tesla Model Y Juniper 2025+ |
| Position / Location | Rear end of the left and right rocker panels, ahead of the rear wheels |
| Material | ABS plastic |
| Color | Glossy Black, Matte Black, Glossy Carbon Fiber Texture, Matte Carbon Fiber Texture |
| Quantity | 2 skirts |
| Installation Type | Automotive tape and required screws into the specified plastic undertray area; no metal drilling |
| Package Contents | 2 skirts, tape, screws, adhesion promoter |
| Shipping Weight | 1.4 kg (3.09 lb) shipping weight; not measured net product weight |
What's in the Box
- 2×Side skirts
- Tape
- Screws
- Adhesion promoter
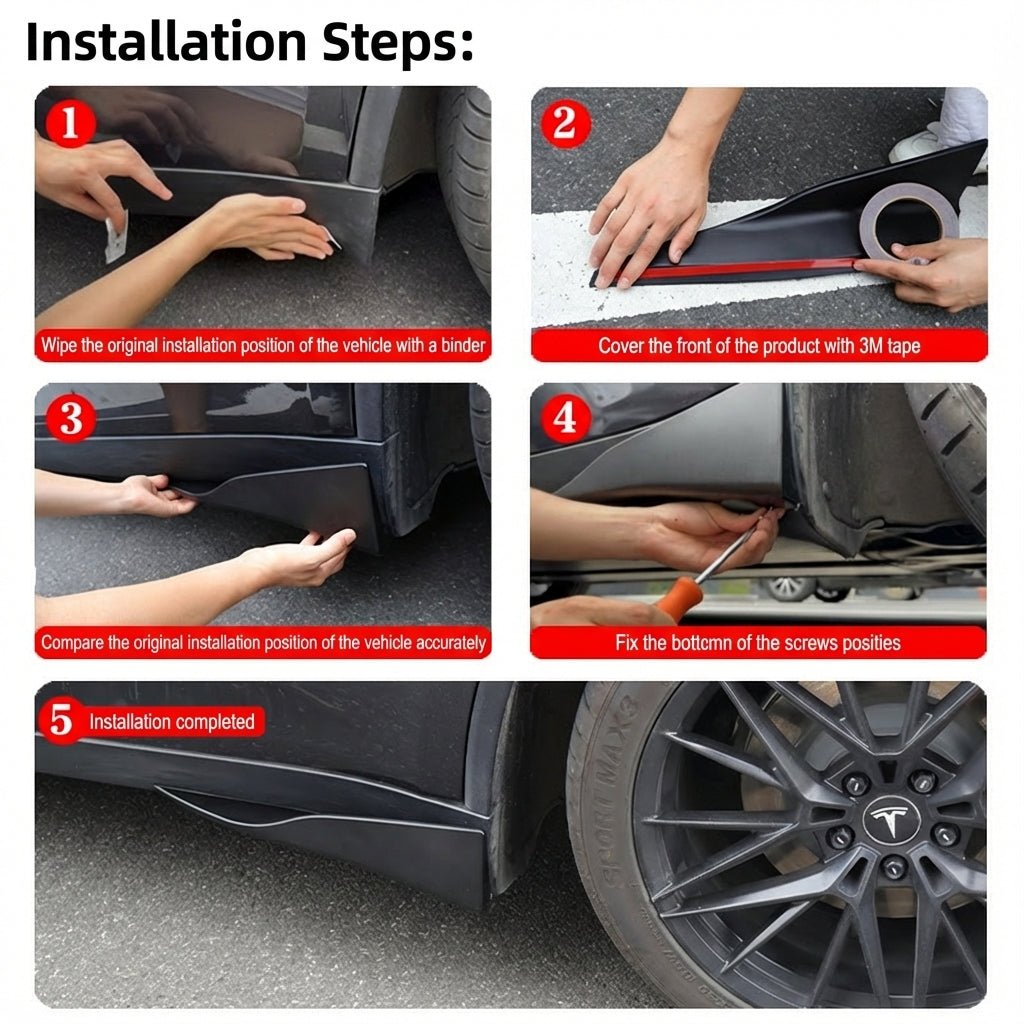
Installation
- Clean and fully dry the bonding surfaces, then apply promoter and tape as instructed. Dry fit before exposing the adhesive and align the splitters without forcing the trim.
- Press along the bonding surface and install the required screws only at the specified plastic mounting locations. Do not skip screws, fasten blindly or drill metal or concealed components.
- Allow the tape to set 24–48 hours before washing.
Good to Know
Caution
- Use both the tape and required screw attachments at the exact specified plastic mounting locations; do not fasten blindly or drill into metal, the battery or concealed components.
Care
- Keep the attachment dry and undisturbed during the required setting period; allow longer if the adhesive instructions or conditions require it.
- Clean gently after setting and avoid high-pressure water aimed at tape edges.
- Inspect tape and screws after washing or a scrape; correct loose or damaged splitters before continued use.
FAQ
Do these cover the full length of the rocker panels?
The illustrated pair adds accents at the rear rocker sections, ahead of the rear wheels.
Are the carbon-texture options solid carbon fiber?
They are hydro-dipped carbon patterns on ABS.
Can I install the parts using only tape?
No. The fitting method uses both tape and screws in the specified plastic undertray area.
When can I wash after fitting?
After 24–48 hours of setting. Automatic washes are not covered.
What comes in the box?
Two side splitters, tape, screws and adhesion promoter. Use the supplied fitting instructions for the exact attachment layout.



 English
 German
 Spanish